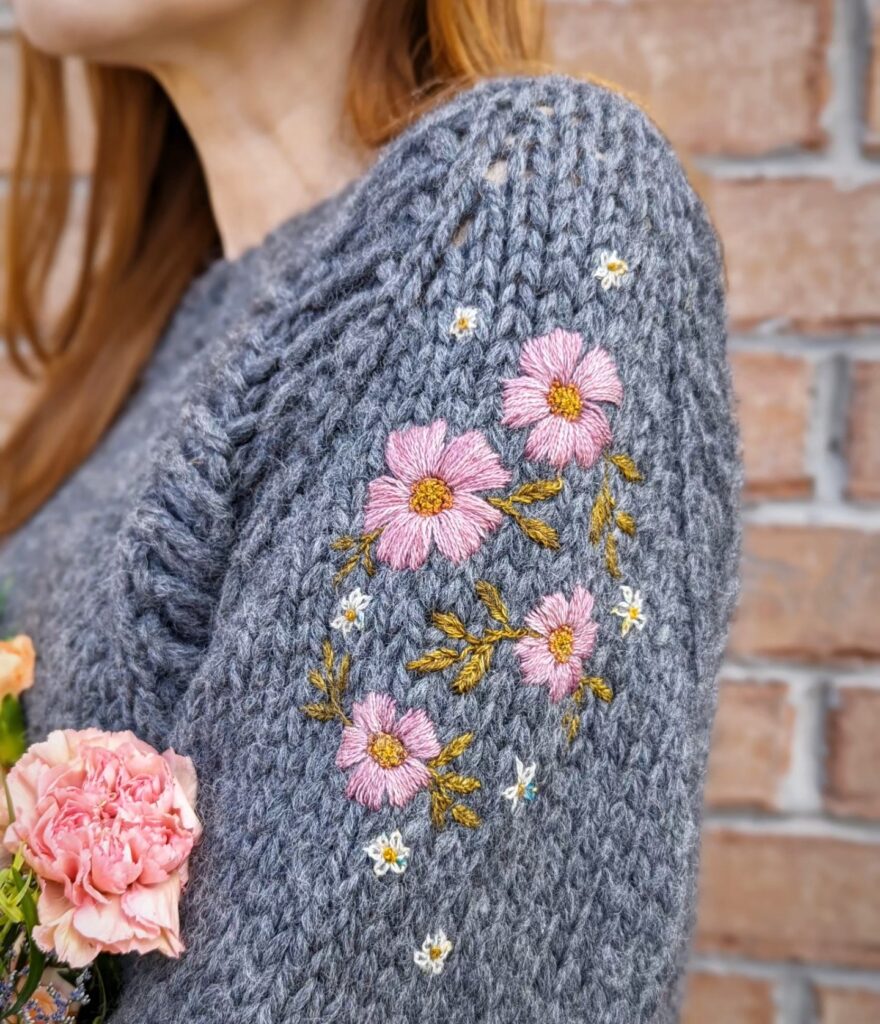
The sample stitched above is all worked with Lichen & Lace Embroidery yarn, which is a great snack-sized portion of laceweight yarn dyed in stunning shades. The names of the colours can be found on your instructions sheet. You can stitch this with leftover laceweight yarn from other projects, or with DMC cotton embroidery floss, or with Lichen & Lace embroidery yarn. This design will work with a variety of thread/lightweight yarn weights.
Where to Get This Design
If you have yet to purchase your pattern, no worries! You can buy a hard copy version with the design already pre-printed right here! There is also the option for a downloadable pdf version, as well.

Placement
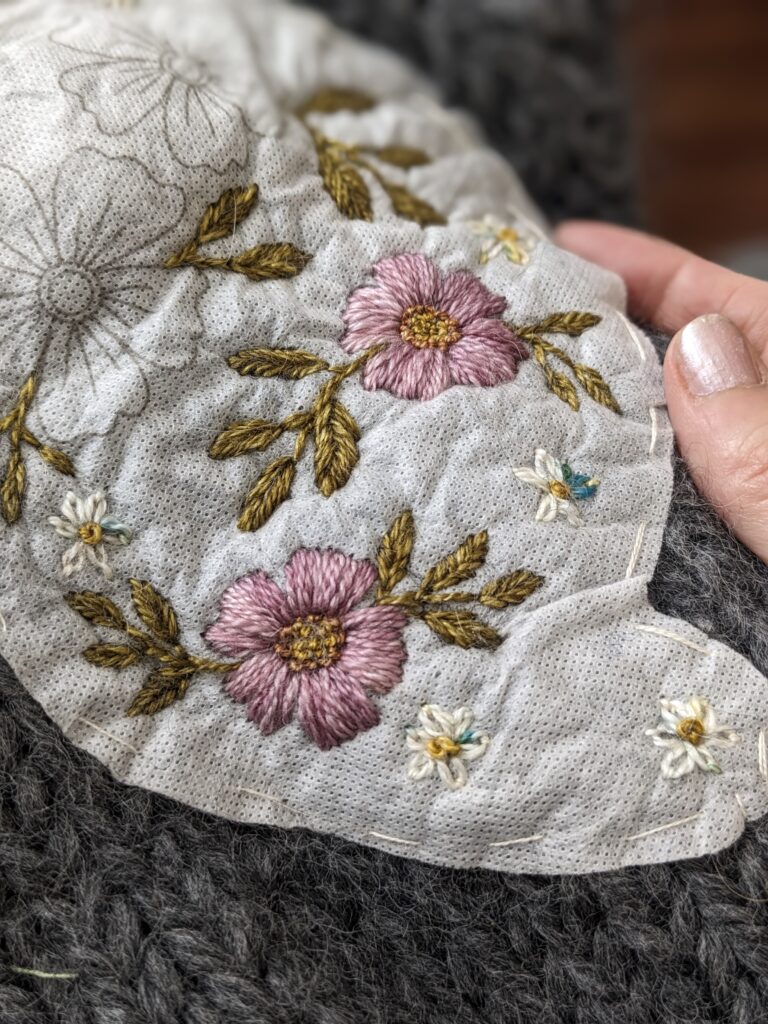
I recommend cutting around the floral shape first and figuring out the placement of where you would like it BEFORE peeling off the back and applying to your garment/item. Once you have decided, gently peel off the backing and press the stick and stitch design firmly into place. If you are stitching on a knit with long fibres (alpaca, mohair, some types of wool) and it feels like the stick and stitch is adhering only to those long fibres, place a few running stitches around the perimeter in a contrasting colour, which will help keep it in place while you stitch. Remember to remove those running stitches later.
See below for an example of the running stitches (in white thread) around the perimeter.
Stitching Order
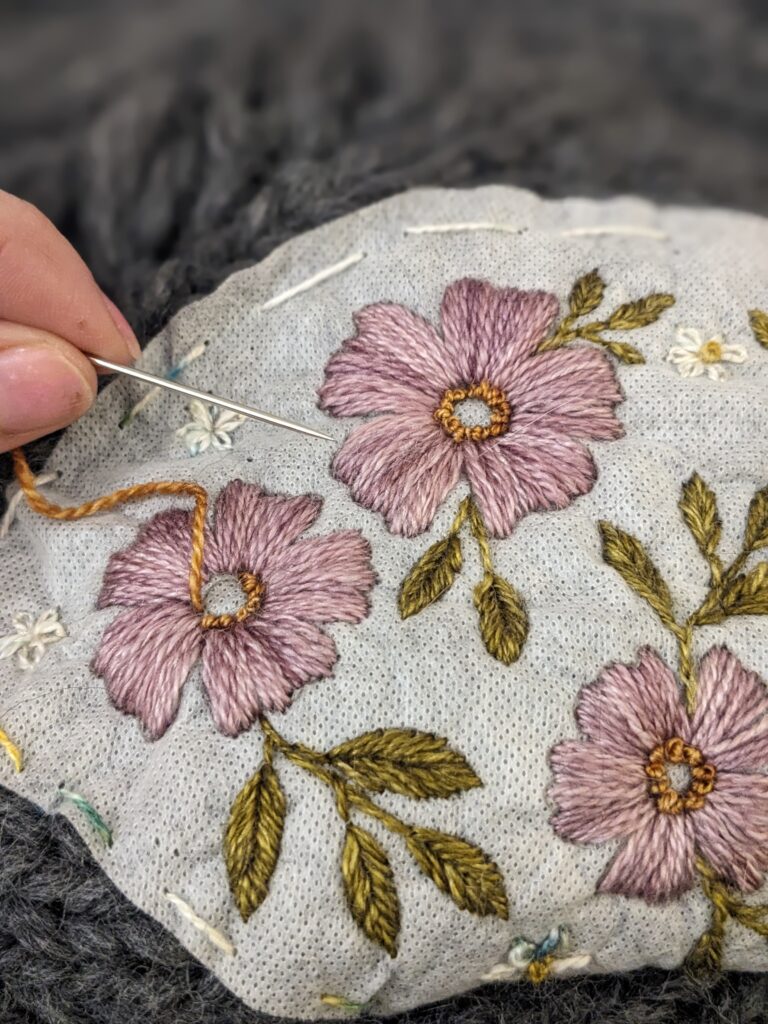
I generally recommend always stitching from the background to the foreground, but it’s up to you! I recommend starting with the leaves and stems, then the small white flowers, then the stain stitch petals for the bigger blossoms, then the center. It is much easier to stitch the flower center french knots after the petals have been stitched. When stitching the french knot centers, I prefer to make a circle of french knots around the edge first, then fill in. This helps to keep the round shape more easily.
To Dissolve the Stabilizer
To remove the stabilizer, soak the item in a sink for about 3- 5 minutes, with water fully covering the embroidery. Then rinse any residue away under the tap, lightly rubbing the stitches if needed,to remove the excess. The more you wash your item, the more of the residue will be removed, so don’t worry if your stitches still feel a little stiff after it dries.
Enjoy your stick and stitch! If you have any problems stitching this design, or have more questions, feel free to email me – my email address is underneath my profile photo on the top right of this page.