Welcome to the Spridda Scarf Embroidery Support Page!
If this is your first time adding embroidery to your knitting, welcome! You’re in exactly the right place.
I designed the Spridda Scarf to make embroidery feel approachable, flexible, and forgiving. There’s no need to be an expert, no pressure to be perfect, and no “wrong” side to worry about. You’ll embroider the scarf as you knit, one small section at a time, with all the messy bits safely hidden inside the tube.
How the Embroidery Works
-
You’ll knit about one skein (about 10 inches) of scarf.
-
Before joining the next skein, you’ll pause and embroider that finished section.
-
The embroidery is worked onto sticky wash-away stabilizer, which supports your stitches and disappears completely when you’re done.
-
Because the scarf is a tube, the back of the embroidery is hidden inside—no need to worry about neatness on the wrong side.
Take it one motif at a time. This is slow stitching by design.
Below you’ll find step-by-step video tutorials for every floral motif, plus practical tips to help you feel confident before you pick up a needle. But if you are still at the ‘deciding colour stage’, I did quite a few samples!
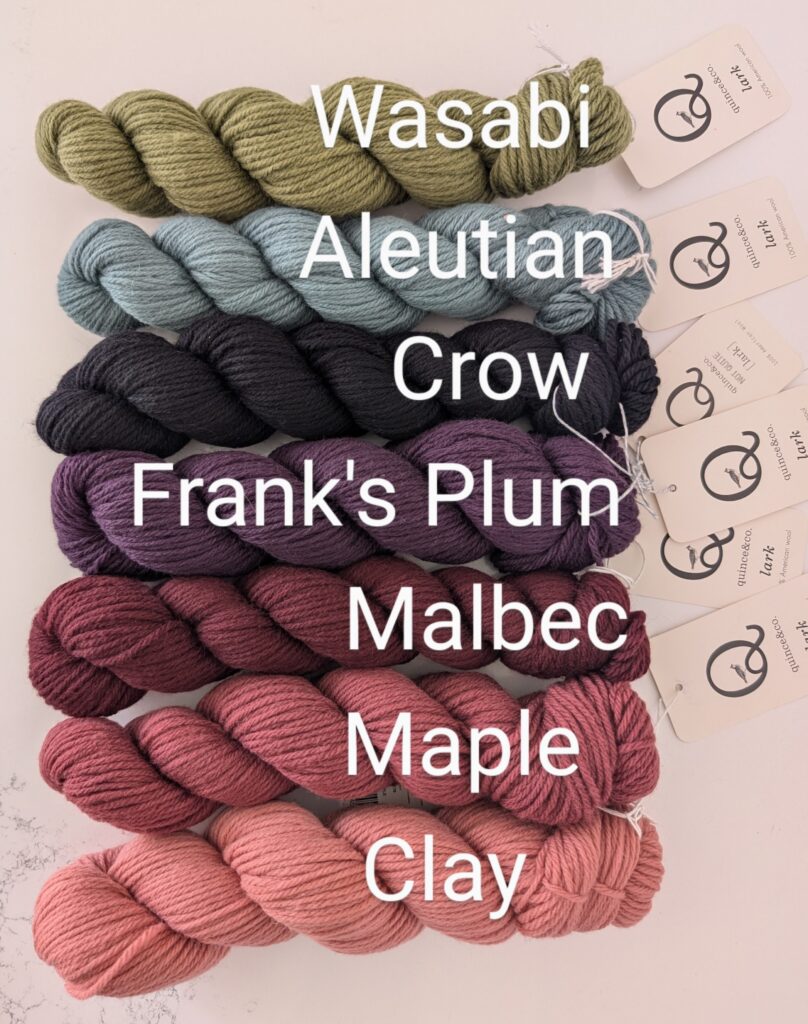
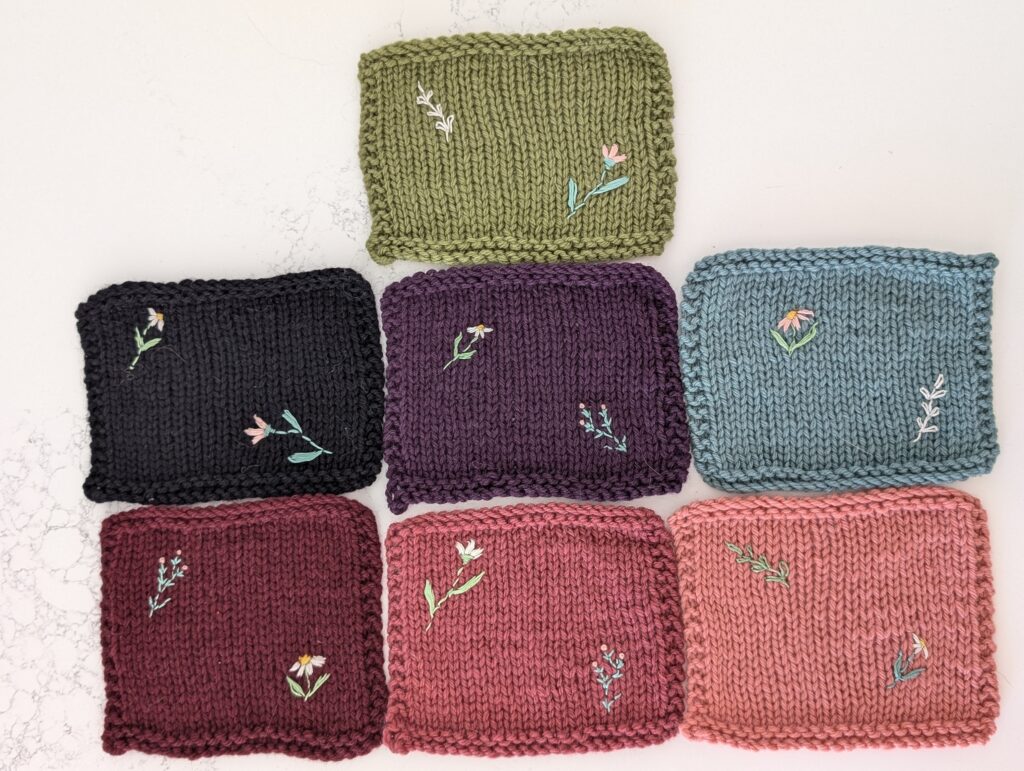
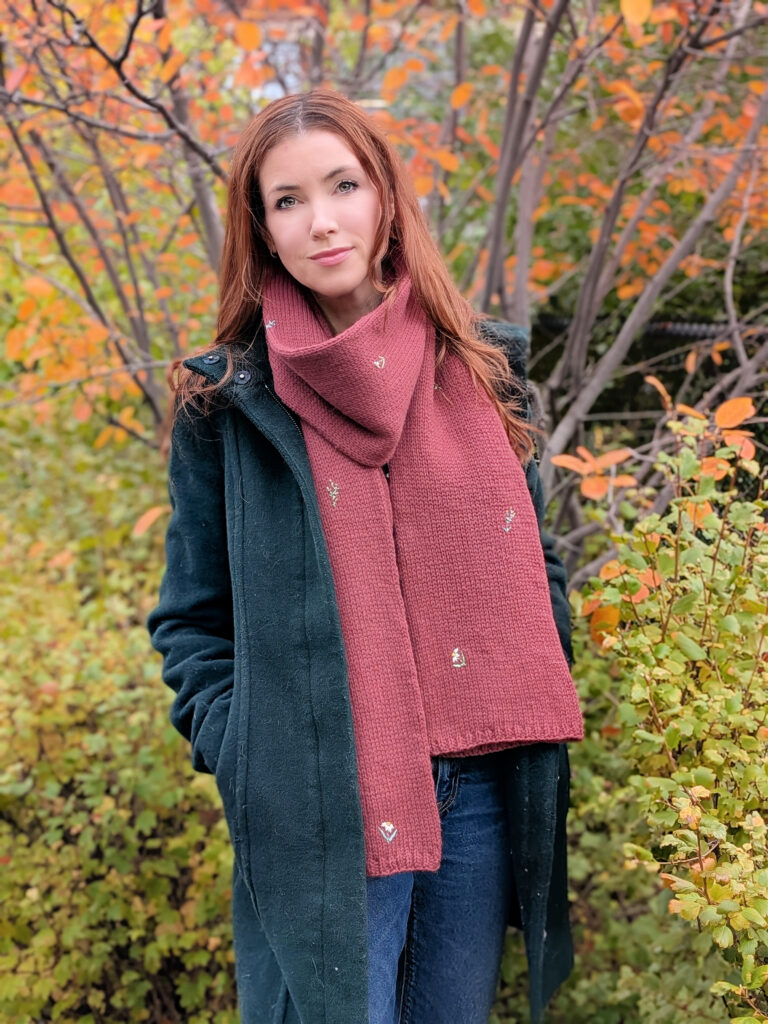
I actually really love how it looks in the darker colours, but it turns out pretty great in any colour! And of course, you can customize your embroidery colours to any colour sthat you like. Really, your only limit is your imagination! You could even do the embroidery entirely in a solid contrasting colour, like black or white.
Introduction Video
What you’ll need for the embroidery:
- embroidery floss or laceweight yarn in the colours of your choice
- embroidery needle ( or a chenille needle, which is a sharp-tipped larger needle)
- sticky backed water soluble stabilizer (brands: Sulky sticky back fabri sovy, Wonderfil’s Rinse Away, C&T Publishing Wash Away Stitch Stabilizer are all good. You can find them at quilting shops and some fabric and craft stores, or order online from Amazon, etc. Get a size that is similar to a normal sheet of paper, and if you have access to a printer, you can run it through a normal printer and get the designs on there quickly.)
Why Bother with the Dissolving Stabilizer?
Great question! The reason I recommend using it is because it’s much easier to fill in the shapes and get your flowers looking good, but more importantly, it keeps all your embroidery on the surface of your knitting. If you have ever tried to embroider on knitting freehand before, you know that keeping your stitches from falling through the knit fabric is a common struggle. This keeps the surface tension on your embroidery just right, so all the stitches stay on top of your knitting, and help keep your embroidery tension even.
How to Embroider the Larger Floral
Stitches covered: Satin stitch, Back Stitch
This video shows – in real time!- exactly how to stitch this flower, even with no previous epxerience. Grab your embroidery material snad stitch along with me! You’ve got this.
How To Embroider The Fern Leaf
Stitches covered: Back stitch, Daisy stitch
How to Embroider the Daisy
Stitches covered: Satin stitch, Back Stitch
How to Embroider the Short Daisy
Stitches covered: Satin stitch, Back Stitch
How to Embroider the Berry Branch
Stitches covered: Back stitch, Straight stitch, French knots
Dissolving The Stabilizer
When you are all done, you’ll get to dissolve the stabilizer!
Generally, I fill my bathroom sink with cool water. I let the knit soak for about 5 minutes, then blast any remaining residue off with the faucet. To ensure a great finished result, DO NOT use any soap or wool wash at this stage. You can do that for any subsequent washings, but there are too many variables with soap ingredients that can effect how well the stabilizer dissolves, and it really does dissolve best in just normal water.
If you have any questions at all, about any part of the Spridda scarf, send me an email! Id’ be happy to help. It’s over there on the sidebar on the right of the screen.