Underneath it All- DK Version

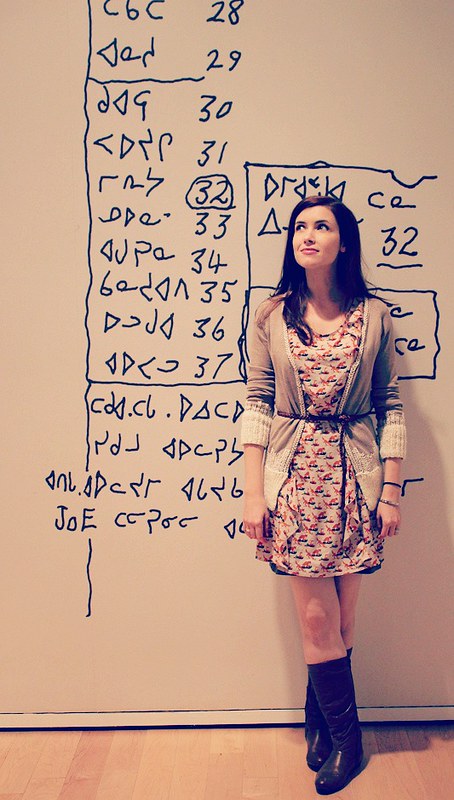
(Yes, I am standing outside in the freezing cold, leaning against an icy brick wall and pretending that this is completely normal.)

I would have happily blogged about this amazing top earlier, if I hadn’t been so sick at the end of November (through the beginning of December!). Then the holiday rush, and suddenly it was 2019. But! I am SO happy  with how this turned out, and made a couple of mods.

I originally wrote this pattern for a sportweight yarn, which is often a slightly heavier fingering weight (a lot of single ply fingering yarns can fall into this category because they are often so ‘fluffy’). But I wanted to try the pattern with a DK yarn and see how it would work out. Sometimes changing the weight of the yarn and not  the needle size can have disastrous effects on the way the fabric works up, as it can create an overly dense and heavy fabric. But! The original top is light and airy, and I was curious to see if the pattern could be done in a DK weight and still turn out really well…. this is hardly a story of suspense, because I think it turned out just the way I had hoped.

Oh, and if you need a refresher on the original pattern and camisole, you can find it here.

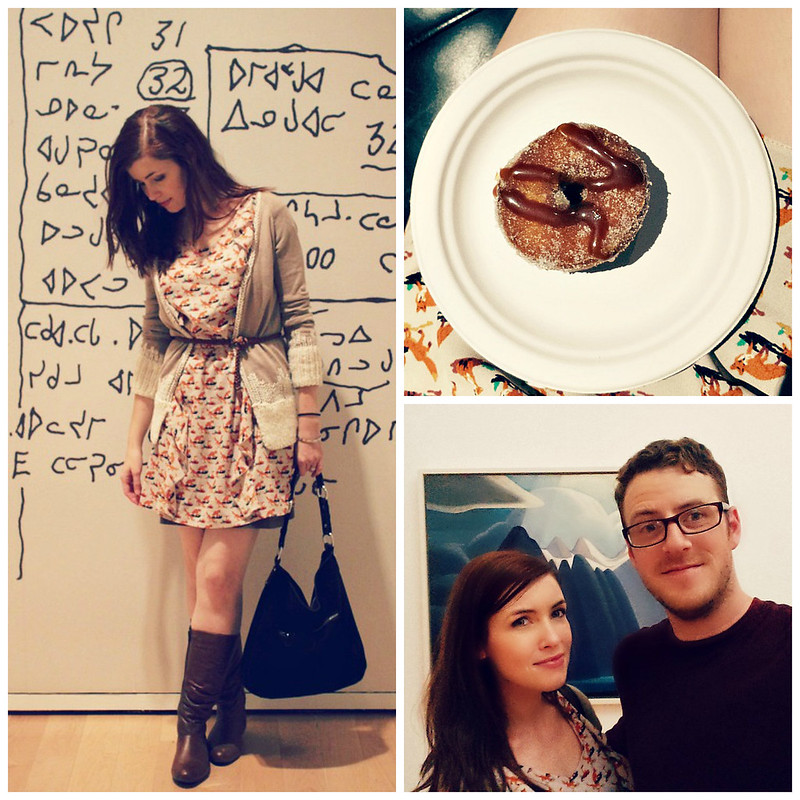
The yarn is from Cosy Posy Yarn Co, an indie yarn dyer in Ontario Canada that I have been swooning over for a while. The colourway is called Imaginary Friend, which is such a pretty array of flecks and speckles of confetti colours on a warm vanilla base, and it was a dream to work with. There were so any colours that I loved, I was lucky that this colourway was available on the DK base, as she has so many different ones to choose from.

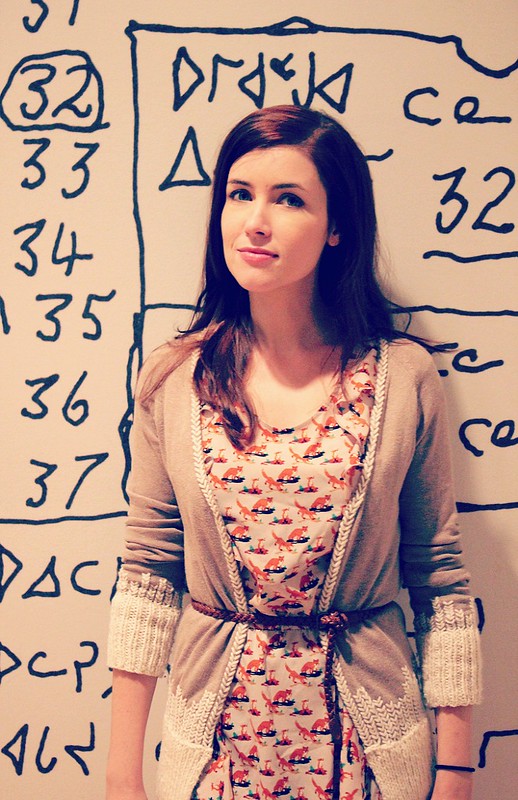
As it is a DK weight and not a sportweight, the camisole is heavier than the original version, but I like that cozy factor. I didn’t have any trouble using the same needle size for the original pattern as the original is light an airy, so the fabric of the DK sits well and has lots of drape. I had to shorten the straps a little bit, as the additional weight of the fabric made them stretch almost an extra inch, but that was the sort of learning curve I was expecting with changing the gauge.

The biggest challenge in the adjustment was that even when using the same needle size, using a bigger yarn means that your gauge is going to be different, which I noticed when working the top edging. It was a bit loose when I did the first bind off, so I ripped it back (fortunately it’s only 2 rows!) and then worked some evenly paced k2 tog throughout, to bring it in closer to my actual measurements at the upper bust. Otherwise, I’d be counting on the drawstring ties to do a lot of the cinching in that they were not designed to do, and it would mess up the appearance of the neck placket.

Some of you may remember the cardigan I’m wearing it with- the upcycled Anthropologie inspired cardigan from (whoa) 2012. I have a 3 part tutorial on making this, if you are interested – over on the tutorials page. I need to make another one….

New Pattern! Underneath it All Camisole

Not exactly aligned with the season, but bear with me. I think a knitted camisole is trans-seasonal!

Pattern: Underneath it All

Yarn: The Blue Brick Manitoulin Merino (discontinued)

Needles: 3.25 mm (US 3)

Check out the details on the Ravelry pattern page, here.  If you like it, give it some love! Add it to your favourites or queue!

I had this gorgeous skein squirreled away in my stash for ages – too long, it seems, as it was since discontinued- but I loved it and wondered if it was possible to squeak out a little camisole with the yardage. Turns out, it was possible! I often look tall in photos, but if you have met me in real life, I’m actually on the smaller side – 5’4″ and knitting generally in the size of a 32″ bust.  I was able to exactly what I wanted- squeak out a camisole on the single skein. I love how it turned out, but made a couple of changes when writing up the pattern. In these photos, you’ll see that there is a faux seam – I took that prat out of the pattern, as I thought it was already form-fitting, and didn’t need to have the faux seam. I am a huge fan o the split hem, so that was a feature I really wanted this pattern to have- I find that split hems sit nicely around the hip area and keep tops and sweaters from riding up while wearing them.

The pattern is designed to be worn with zero or negative ease, but my amazing test knitters also tried modifying it- because you know how I love modifications! Some went for an A-line approach, and others made a size up…. it was neat to see. As the pattern just went live on Ravelry late last night, projects are still being connected to the pattern page, but it worth checking out the notes of those that made some changes and experimented with it. I would caution on going a size up in the bust area, though. the i-cord ties only bring things in so much, and if there is too much room in the bust, the neckline will bag and sag. If you want more ease in the body, I would recommend casting on for a size or two bigger than the bust, and then decreasing down to the true bust size (take measurement on the high part of your bust, not the widest part of your bust). Side stitch markers can help with where to put those decreases, should you decide to try that.

When knitting this, I made the neck placket too deep so I sewed it up a bit – and I loved the result! it gives s lot more coverage than you would think, since you have to really look hard at the lace in order to see anything beyond it. I also have an amazing strapless bra on that matches my skin tone, so you think you see skin, but you are really looking at my bra. The straps are i-cord, but if you would prefer wider straps, you could easily modify and cast on for thicker straps, maybe in the lace or even ribbing! I hope to see some neat strap modifications!

These photos were taken in September, with goldenrod behind me. I know that the cold weather has hit most of us, but this also makes a lovely top to sleep in, and also is really pretty layered with a cardigan over top.

To celebrate the new pattern release, the pattern is 30% off until Friday, November 9th (midnight Eastern Time). No coupon code needed!


Happy Halloween!

Our neighbours had a little kid Halloween party on the weekend, And Lila rocked her little leopard costume. It was really cold that day, so she has lots of layers underneath, but she had a great time. They had toys and decorations, and we all brought some kid-friendly fare (and some clever adults brought some grown up hot apple cider for the parents!). Lila picked up a shovel at the playground, and insisted on carrying it everywhere the rest of the afternoon. She seemed to genuinely enjoy her costume, except when we tried to put mittens on her. Because apparently leopards can carry green shovels, but they don’t wear mittens.

Happy Halloween everyone!


Date Night Idea: An Evening at the Art Gallery

Everyone always talks about how important date nights are once you have kids.

But the trouble is, we really just want to sit on the couch and veg out in front of the TV- me with my knitting and Guy with his internet. Our last date night consisted of going to Home Depot, eating Subway sandwiches for dinner, picking up a baby gift for a friend, and then sitting in a cafe for an hour, feeling tired and wishing we could go home. But we felt guilty for wanting to go home, and also like we’d be ripping off the babysitter if we came home so soon. That is not an unusual way for us to spend a ‘date night’.

So we decided to shake things up a bit and actually do something that people who were not married/cohabitating (and therefore HAD to go on dates as a way to spend time together) would do. We went to First Thursday, an evening event that the Art Gallery of Ontario puts on in the evening on the first Thursday of every month. And guys, it was FUN. It felt like a date- I wore a nice dress and there were bars and art and quiet corners to kiss in.

AGO 5

The fox-print dress is a a light summer dress (a birthday gift from a friend, but I know she got it at ASOS- the link is here, but it is out of stock).  To cozy it up for fall, I’m wearing it with a sheath dress underneath, and my awesome upcycled Anthropologie inspired cardigan. This was the first time I’ve tried the ‘belted cardigan’ look, but I think it works- I would do it again.

AGO 3
AGO 1
Also, this cardigan seems to go with everything, true story. 
AGo Collage 3
The First Thursday event actually lets you wander around the galleries (most of them, anyway) with booze and food. The food they had on offer that evening: cronuts (seen above), fish and chips in tiny personal sized boxes, deep fried mac and cheese. It wasn’t healthy, but it was delicious! 

AGO Collage 1

 There were some cool new photography exhibits, and somehow part of the fun of First Thursday involved people dressed up with weird masks wandering around and perusing the art. Oddly, it does add a little something to the fun of the evening, though!
AGO collage 2
There were loads of people there, but yet it never felt too crowded. Guy and I have agreed that this date night was the most successful of all our post-baby date nights, and we will continue to go to First Thursdays. This was actually energizing, and fun, and stimulating, and beats the pants off of errand-running and obligatory dinners that we’re too tired to actually enjoy. 

FO- Gallery Jacket

I live in a basement apartment, so bear with me on the lighting.

Pattern:Gallery Jacket

Yarn: Knitpicks Swish Superwash in Lemongrass Heather

Needles: 5.5 mm straights (I crammed those stitches on!)

Size Made: Small (34″)

Modifications: I made this a fair bit longer. This was easy enough to do- The part where you put stitches onto stitch holders for the front sections is where the armholes divide, so I just kept holding it up underneath my arm to see where it fell against my body.

Also, I accidentally didn’t do the shawl collar. I knit everything but the sleeves on the subway, and I didn’t have the pattern in front of me. I didn’t notice I had missed that part until I had already seamed the shoulders on both sides. I tried it on and decided that it works this way, too. And it gives me an excuse to make another one in the future!Notes: I didn’t block the body much, but pinned and spritzed the sleeves. I’m using a kilt pin as the closure, but I’m thinking that a great chunky belt would be stylish, too. I also briefly considered adding belt loops and a little kimono-style sash. I tried a few different ways to wear it , and it’s pretty versatile:
When I was doing the sleeves, I was a bit concerned that the purl rows at the edge were going to be a bit weird, but I like the way they turned out:I can’t tell you how much I love this. It was such a pleasure to knit, and I love the simple styling. I wouldn’t be surprised if I made another one. Thanks to Cirilia for a great pattern!