Materials:
-
- A knit hat of your choosing (something without a lot of texture stitches – a ribbed or stockinette hat is ideal)
- Embroidery threads in the colours of your choosing (see below for my exact colours)
- Dissolving stitch stabilizer
- A small needle suitable for your threads – I used a 1.5 inch stainless steel needle with a long eye
- Pattern for download (pdf)
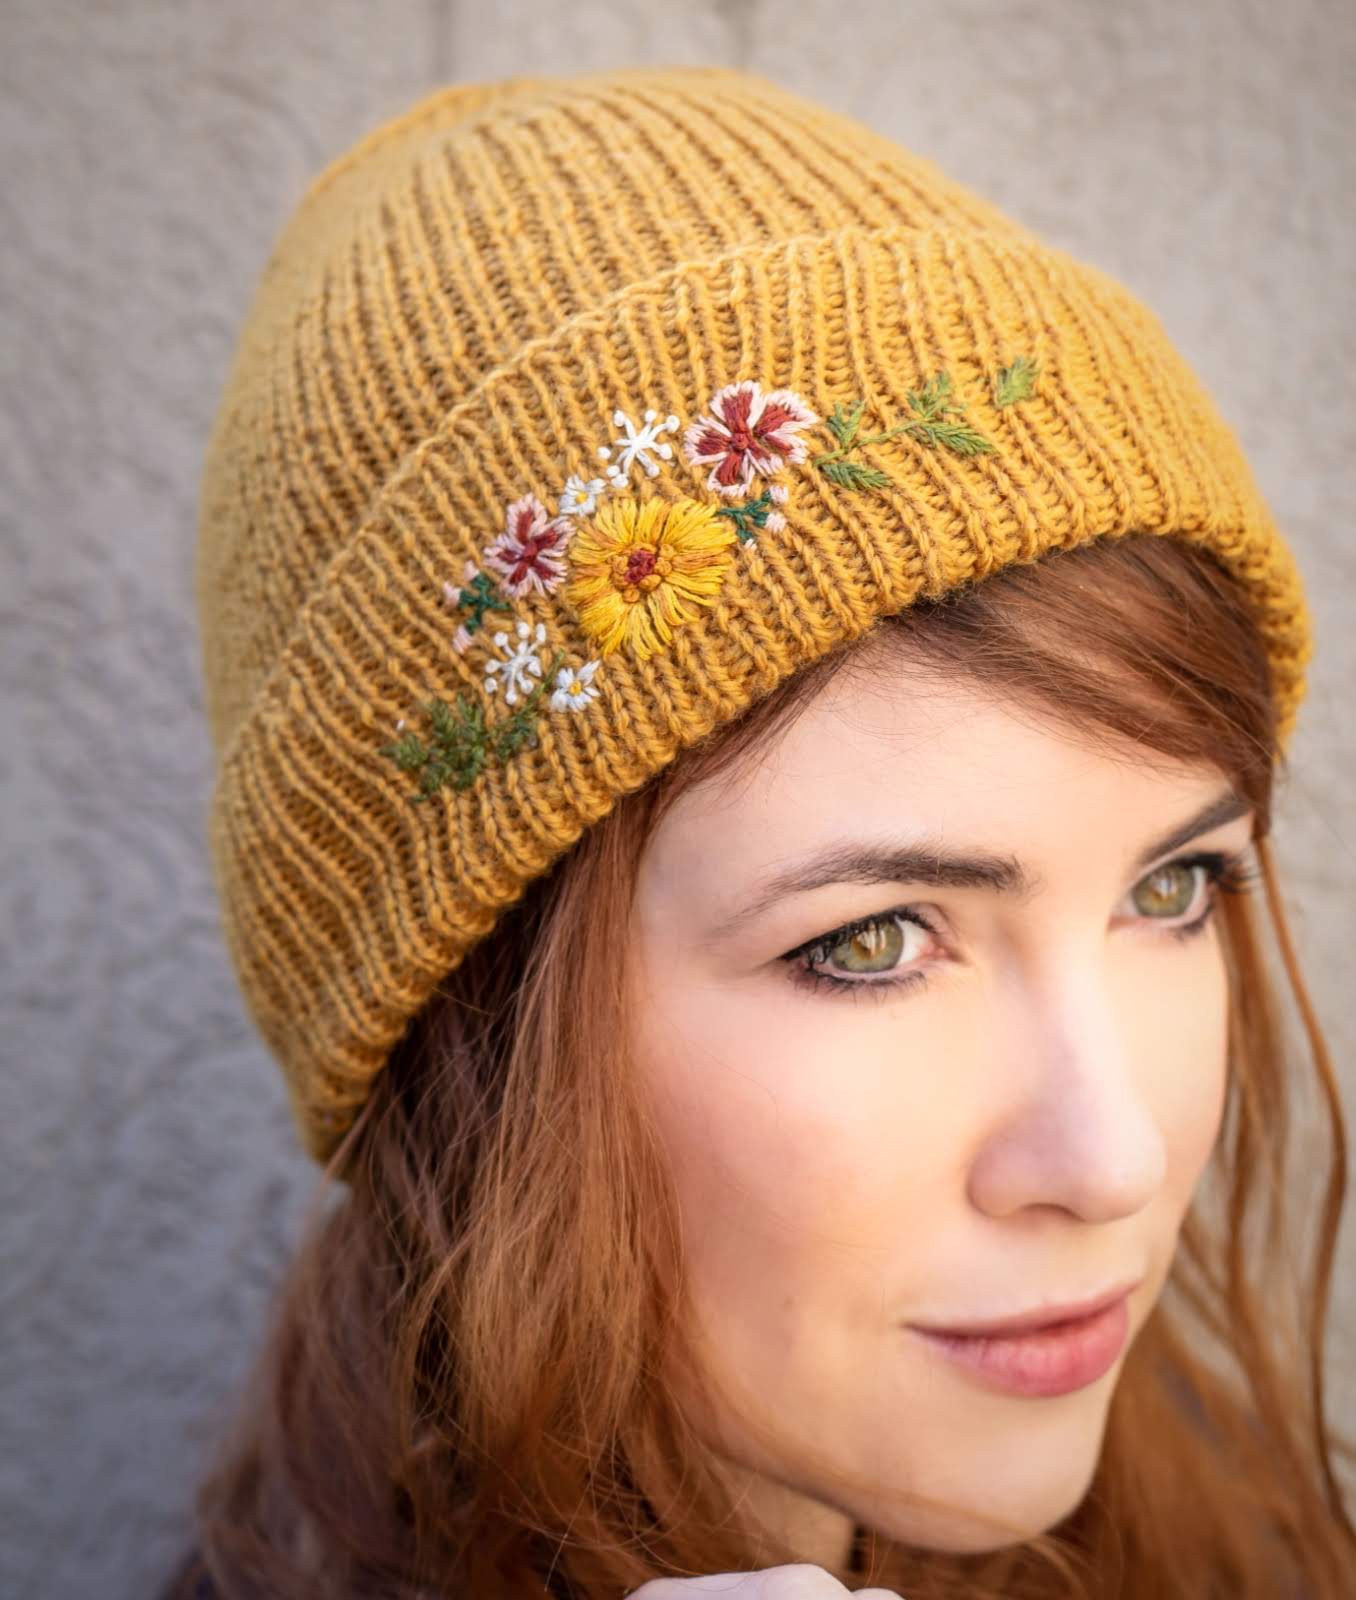
For a hat exactly like mine, I knitted this hat from Berroco Ultra Wool DK in ‘Butternut’, and the pattern is a free pattern from Purl Soho called the Classic Ribbed Hat. I thought both the yarn and the hat itself were great.
DMC Colours Used:
Ecru (001)
728
783
3771
918
469
895
*** All embroidery was done with three strands of each colour. As embroidery threads come as 6 strands together, you’ll need to separate them in half, for 3 strands.
Stitches Used
French knots, satin stitch, straight stitch
Stabilizer
I used a water-dissolving stitching stabilizer, and I highly recommend you do the same. You don’t need to use this brand exactly, but it worked well for me- You can buy it from Amazon, but probably most craft stores will have them. Find it here at amazon.ca , amazon.com, and amazon.co.uk.
Steps:
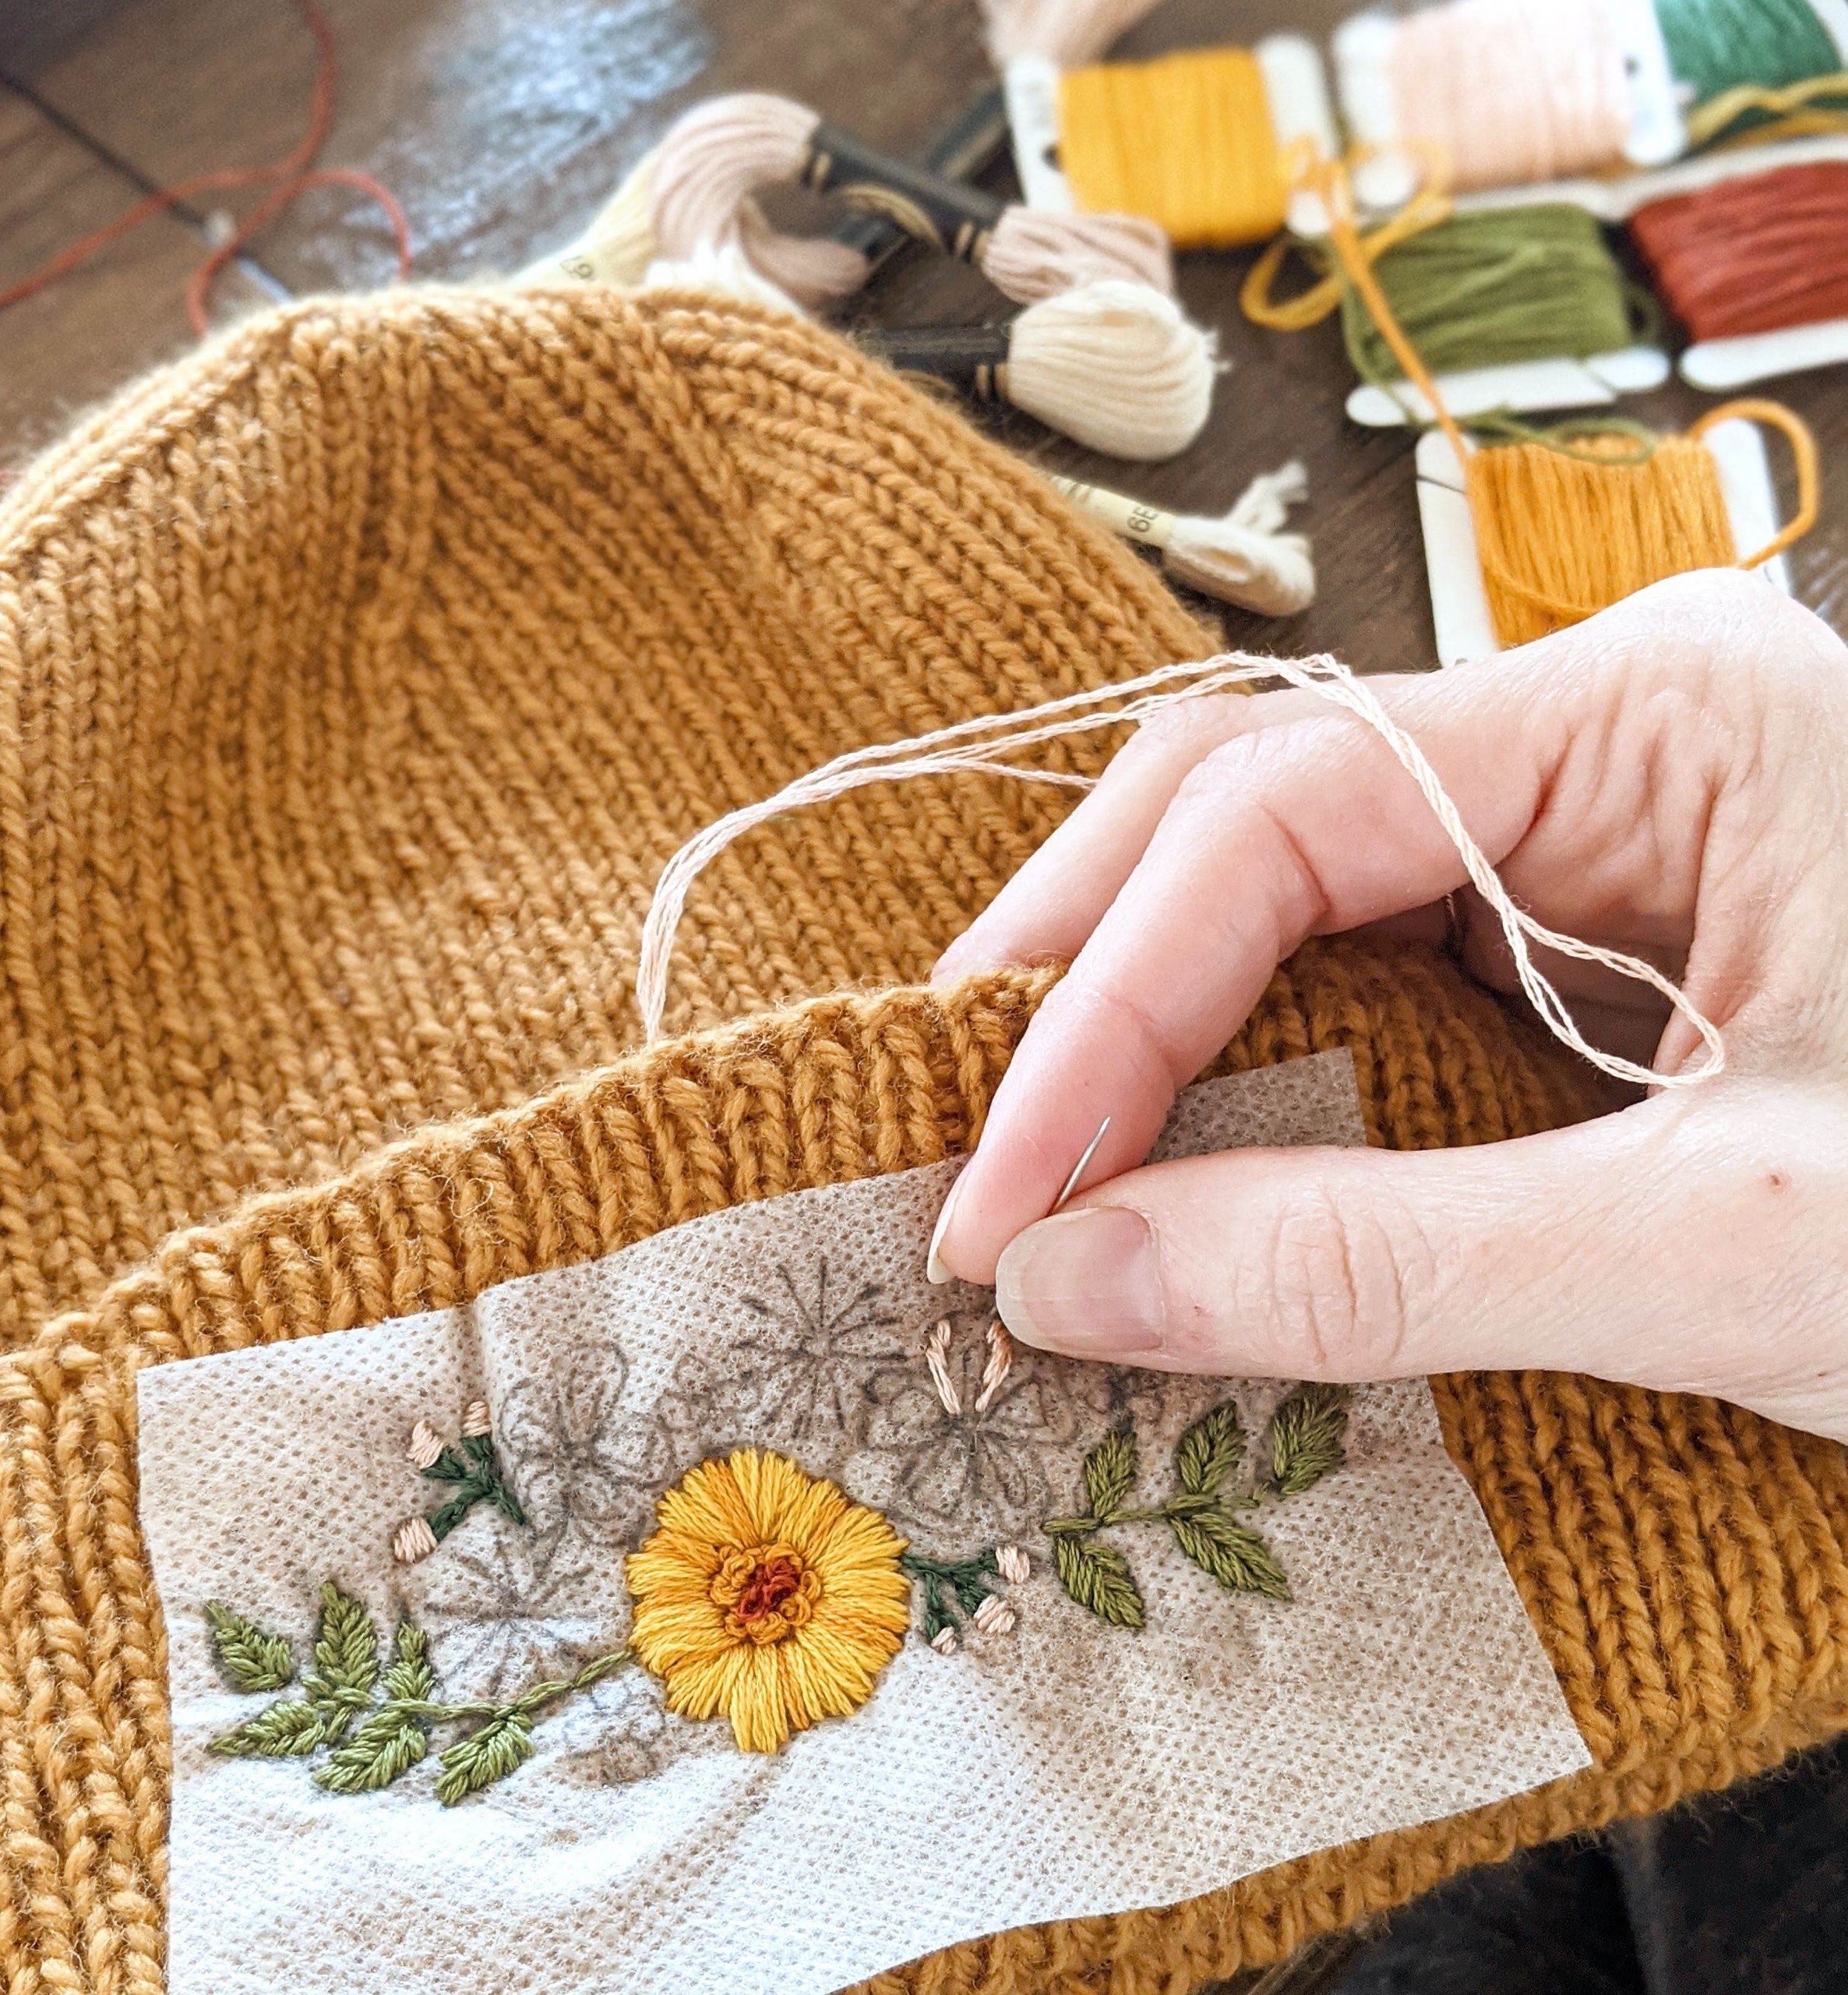
- Download and print the pdf pattern (#5 up in the materials list). Place one sheet of the water soluble stabilizer over top of the design, and trace with a pencil onto your stabilizer.
- Cut out the design, and place onto the hat in the area where you would like the stitched design to appear – mine is on the fold of the hat brim. I’m only stitching through one layer of the knit fabric for the brim, not both. The hat brim can still be re folded, it is not sewn into place.
- Follow the stitch guide on the pdf, or freestyle as you see fit!
- When you are done stitching, submerge the design in warm (not hot) water, and let sit for about 15 mins. Gently agitate the water a bit to help dissolve the stabilizer. Then drain the water, and rinse again under fresh water, to help remove any trace of residue of the stabilizer from your stitching.
- Lay flat to dry.
- Wear with pride! Look at what you made, you’re amazing!

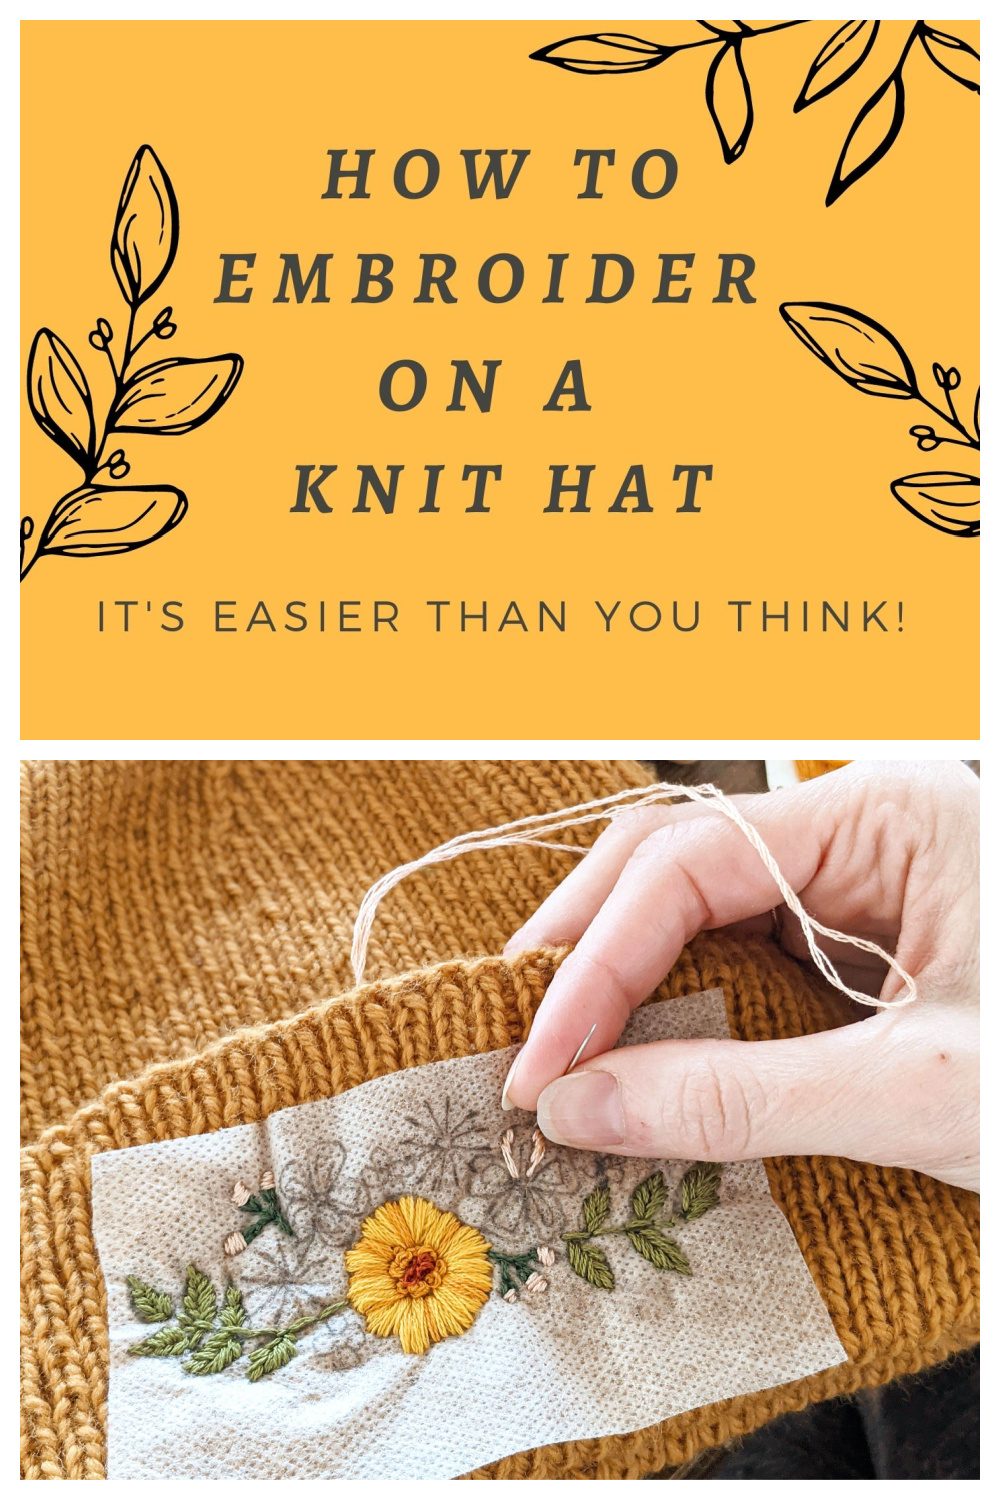
Like this post? Pin it!
Ao cute, Julie! ❤️
That’s beautiful!
This is such a great tutorial. Thanks for sharing Julie!
This is so cute for Spring! I need a nice warm hat for these cool days, but my hats are so winter-y. I will be visiting my LYS for yarn today, and look forward to trying the embroidery. Thank you for the free pattern, so generous of you! Have a great day!
Nice Hat! Thanks for sharing.
Que trabajo mas hermoso, felicitaciones desde el fin del mundo CHILE